
I can still remember the day I first discovered the magic of Red Velvet Cheesecake Sushi Rolls. It was during a potluck at my office, and the moment I sank my teeth into that delectable bite, I was transported to a world of pure indulgence. The rich, creamy texture of the cheesecake, perfectly balanced by the subtle sweetness of the red velvet, and all wrapped up in the crunchy, seaweed-wrapped sushi roll – it was an explosion of flavors that left me craving more.
Why This Red Velvet Cheesecake Sushi Rolls Recipe Will Become Your Go-To
The Secret Behind Perfect Red Velvet Cheesecake Sushi Rolls
What makes this Red Velvet Cheesecake Sushi Rolls recipe so special is the way it combines classic sushi-making techniques with the decadence of a red velvet cheesecake. By using a homemade red velvet cake mix, we’re able to infuse the sushi rolls with that signature deep red color and distinct flavor, creating a truly unique and visually stunning dish. The addition of softened cream cheese and a touch of vanilla extract takes the filling to the next level, resulting in a creamy, indulgent center that perfectly complements the nori wrap.
Essential Ingredients You’ll Need
To make these Red Velvet Cheesecake Sushi Rolls, you’ll need just a few simple ingredients:
- 8 ounces cream cheese, softened – This is the backbone of the cheesecake filling, providing a rich, creamy texture.
- 1/2 cup granulated sugar – The perfect amount of sweetness to balance the tangy cream cheese.
- 1 teaspoon vanilla extract – Adds a touch of fragrance and depth to the filling.
- 1 cup red velvet cake mix – This is the secret ingredient that gives the rolls their stunning red color and signature flavor.
- 2 cups sushi rice, cooked and cooled – The foundation of the sushi rolls, providing the structure and rice flavor.
- 4 sheets nori seaweed – Wraps the sushi rolls and adds that classic sushi taste.
- 1/4 cup toasted coconut flakes (optional) – Adds a delightful crunch and tropical note.
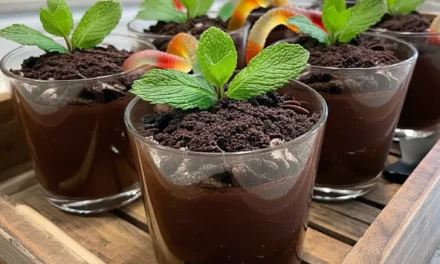
- 2 tablespoons chopped fresh mint (optional) – Provides a refreshing contrast to the rich filling.
Step-by-Step Red Velvet Cheesecake Sushi Rolls Instructions
Preparing Your Red Velvet Cheesecake Sushi Rolls
With a total time of just 20 minutes, this Red Velvet Cheesecake Sushi Rolls recipe is a quick and easy way to impress your friends and family. All you’ll need is a sharp knife, a bamboo sushi mat, and a few simple kitchen tools to get started.
1- Begin by mixing the softened cream cheese, granulated sugar, and vanilla extract in a medium-sized bowl until the ingredients are well combined and the mixture is smooth and creamy.
2- Gently fold in the red velvet cake mix until it’s fully incorporated, creating a rich, decadent filling.
3- Lay a sheet of nori seaweed shiny-side down on your sushi mat. Spread a thin, even layer of the sushi rice over the nori, leaving a 1-inch border at the top.
4- Carefully spoon the red velvet cheesecake filling in a line along the center of the rice, then top with a sprinkle of toasted coconut flakes and chopped fresh mint, if desired.
5- Using the sushi mat, tightly roll the nori and rice around the filling, being careful to keep the roll compact and even.
6- Slice the rolled sushi into 6 equal pieces and arrange them on a serving platter. Repeat the process with the remaining nori sheets, rice, and filling to create 24 vibrant Red Velvet Cheesecake Sushi Rolls.
Pro Tips for Success
- Make sure to use softened, room-temperature cream cheese for the smoothest, creamiest filling.
- Wet your knife before slicing the sushi rolls to prevent the nori from sticking and tearing.
- For an extra touch of decadence, drizzle the finished rolls with a simple cream cheese glaze or dust them with a light coating of powdered sugar.
- If the sushi rice seems too sticky, try adding a bit of rice vinegar or lemon juice to the cooking liquid to balance the texture.
Serving and Storing Your Red Velvet Cheesecake Sushi Rolls
Perfect Pairings for Red Velvet Cheesecake Sushi Rolls
These Red Velvet Cheesecake Sushi Rolls are the perfect treat for any occasion, whether you’re hosting a dinner party, serving them as an appetizer, or enjoying them as a unique dessert. The 24 pieces this recipe yields make it ideal for sharing with friends and family. For a complete and indulgent experience, consider serving the sushi rolls alongside a refreshing white wine, a rich red wine, or a chilled glass of sparkling rosé. Pair them with a simple green salad or fresh fruit for a light and balanced meal.
Storage and Make-Ahead Tips
If you have any leftover Red Velvet Cheesecake Sushi Rolls, they can be stored in the refrigerator for up to 3 days. Wrap the individual rolls tightly in plastic wrap or place them in an airtight container to prevent the nori from drying out. For longer-term storage, the prepared filling can be frozen for up to 2 months. Thaw it in the refrigerator overnight before assembling the sushi rolls. You can also make the sushi rice and prepare the filling up to 2 days in advance, storing them separately in the fridge until ready to assemble.
Variations and Dietary Adaptations for Red Velvet Cheesecake Sushi Rolls
Creative Red Velvet Cheesecake Sushi Rolls Variations
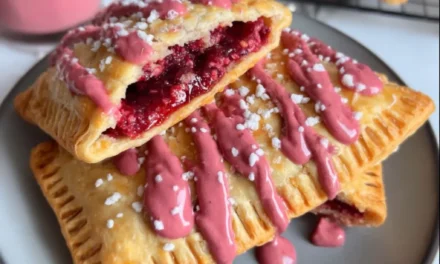
While the classic Red Velvet Cheesecake Sushi Rolls are sure to delight, there are plenty of ways to put a unique spin on this recipe. Try using a chocolate or white chocolate cream cheese filling for a richer, more indulgent twist. For a burst of freshness, add a layer of fresh raspberries or strawberries to the center of the rolls. You can also experiment with different toppings, like chopped nuts, crushed Oreos, or a drizzle of white chocolate.
Making Red Velvet Cheesecake Sushi Rolls Diet-Friendly
To make these Red Velvet Cheesecake Sushi Rolls more diet-friendly, you can swap the regular cream cheese for a low-fat or dairy-free version. For a gluten-free option, use a gluten-free red velvet cake mix or make your own homemade version. To reduce the carbohydrates, you can replace the sushi rice with cauliflower rice or use a low-carb flour tortilla in place of the nori sheets.
Frequently Asked Questions
Q: Can I use a store-bought red velvet cake mix instead of making my own?
A: Absolutely! Using a store-bought red velvet cake mix is a perfectly acceptable shortcut for this recipe. Just be sure to follow the package instructions for the amount of mix needed.
Q: How long does it take to assemble the Red Velvet Cheesecake Sushi Rolls?
A: The total time for this recipe is just 20 minutes, with 20 minutes for preparation and 0 minutes for cooking. The assembly process is fairly straightforward and can be done quickly.
Q: Can I make the Red Velvet Cheesecake Sushi Rolls ahead of time?
A: Yes, you can definitely make these sushi rolls in advance. The filled and rolled sushi can be stored in the refrigerator for up to 3 days. Just be sure to wrap them tightly in plastic to prevent the nori from drying out.
Q: How many pieces does this recipe make?
A: This Red Velvet Cheesecake Sushi Rolls recipe yields 24 pieces, making it a great option for sharing with a crowd or enjoying as a dessert.
Q: What if the sushi rolls don’t hold their shape when slicing?
A: If you’re having trouble slicing the sushi rolls without them falling apart, try chilling them in the refrigerator for 30 minutes to an hour before cutting. This will help the filling set and the rolls hold their shape better.

Red Velvet Cheesecake Sushi Rolls
- Total Time: 20
- Yield: 24 pieces
Description
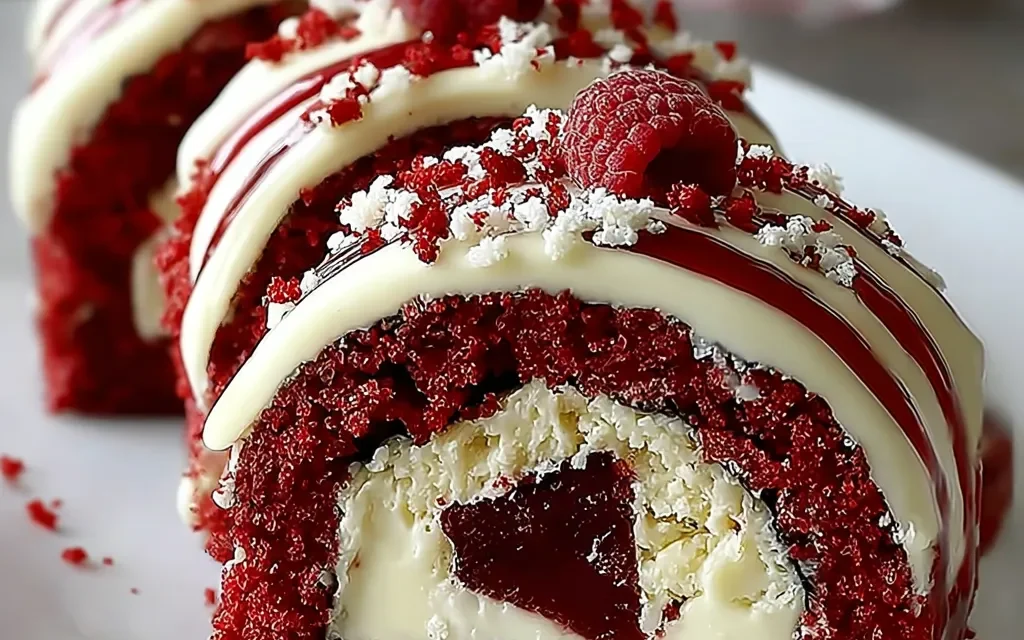
Indulge in the captivating fusion of rich red velvet cake and creamy cheesecake, wrapped up in delicate sushi rolls for a unique and delightful treat.
Ingredients
– 8 ounces cream cheese, softened
– 1/2 cup granulated sugar
– 1 teaspoon vanilla extract
– 1 cup red velvet cake mix
– 2 cups sushi rice, cooked and cooled
– 4 sheets nori seaweed
– 1/4 cup toasted coconut flakes (optional)
– 2 tablespoons chopped fresh mint (optional)
Instructions
1. In a medium bowl, beat the cream cheese with an electric mixer until smooth and creamy.
2. Add the granulated sugar and vanilla extract, and beat until well combined.
3. Fold in the red velvet cake mix until fully incorporated.
4. Lay a sheet of nori on a bamboo sushi mat. Spread 1/2 cup of the sushi rice evenly across the nori, leaving a 1-inch border on one of the long sides.
5. Spread 2-3 tablespoons of the red velvet cheesecake mixture in a line down the center of the sushi rice.
6. Carefully roll the sushi, using the bamboo mat to help you, until you reach the 1-inch border. Wet the border with water to seal the roll.
7. Repeat with the remaining nori, sushi rice, and cheesecake mixture to make 4 rolls total.
8. Slice each roll into 6-8 pieces using a sharp, wet knife.
9. Garnish the sushi rolls with toasted coconut flakes and fresh mint, if desired.
Notes
For best results, use freshly cooked and cooled sushi rice. The red velvet cheesecake mixture can be made ahead of time and stored in the refrigerator until ready to assemble the rolls.
- Prep Time: 20
- Category: Cakes, Pies & Cheesecakes
- Method: No-Bake
- Cuisine: Fusion
Conclusion
These Red Velvet Cheesecake Sushi Rolls are truly a unique and delightful fusion of flavors that will leave your taste buds craving more. With their stunning presentation, decadent filling, and easy-to-follow instructions, it’s no wonder this recipe is quickly becoming a fan favorite. Whether you’re serving them at a party, enjoying them as a special treat, or experimenting with creative variations, I’m confident you’ll find that these Red Velvet Cheesecake Sushi Rolls will become a go-to recipe in your repertoire. So what are you waiting for? Gather your ingredients and get ready to indulge in this unforgettable culinary experience!


